Adam's Graphene Ceramic Headlight Restoration STANDARD Kit will remove oxidation and restore optical clarity to moderately faded, foggy, or discolored headlights, without the need for sanding and polishing, while also applying a protective graphene-oxide modified ceramic coating film to prevent future damage! Poor headlight performance is a safety concern and liability. Having even moderately oxidized headlights will heavily impair nighttime visibility which could lead to an accident. This simple, two step system will transform the performance and appearance of your headlights in as little as 15 minutes!
Adam’s Graphene Ceramic Headlight Restoration PRO Kit will remove oxidation, level defects, and restore optical clarity to severely damaged, faded, foggy, and discolored headlights, while also applying a protective graphene-oxide modified ceramic coating film to prevent future damage! Poor headlight performance is a safety concern and liability. Having even moderately oxidized headlights will heavily impair nighttime visibility which could lead to an accident. This simple, three step system will transform the performance and appearance of your headlights in as little as 30 minutes!
Although I feel like I took my time and followed instructions, lens are now worse than before. Step with water before final left coating. Thinking final ceramic final step would rectify, applied. Customer service recommended buffing with polish which I did. Incidentally, with your polish and buffer which I love. No luck. Feel like I need to repeat entire process. If you review my purchases you will find I have made several purchases from Adams in the last two months and beyond pleased with all of your other products. My 14 year old truck looks like showroom quality with exception of headlights.
Worked super well, watched the YouTube tutorial from Adams Polishes and was blown away from the results. It made my 15 year old Nissan’s headlights look brand new again.
The headlight restoration worked pretty well. One of my headlights had some bad oxidation and now they both look pretty good, not quite new though. One of the final packets had opened at some point and the wipe was dried out. Luckily the second packet was good and had to use the one for both lights.
I used this kit to restore the faded and oxidized headlights on my 1999 Chrysler 300M, and was blown away with how easy the kit was to use, and how well the end results looked! After one month they show absolutely no signs of yellowing again, where all previous restoration methods I've used have only lasted a week or 2 before becoming slightly yellow again.
exceptionally easy to refinish the lens and restores to near new like finish. As my daughter said- it is 1000% better and it was easy to complete. Thanks for another great product
This kit will not function to restore headlights that feel rough and have been physically degraded or damaged from rock chips or sand blasting – for more severely damaged headlights, see our other more built out kit: Adam’s Graphene Ceramic Headlight Restoration Kit PRO. Adam’s Graphene Ceramic Headlight Restoration Kit is a simplified kit that is designed to restore mild to moderately oxidized headlights that are in need of color and clarity correction only and are already relatively smooth to the touch.
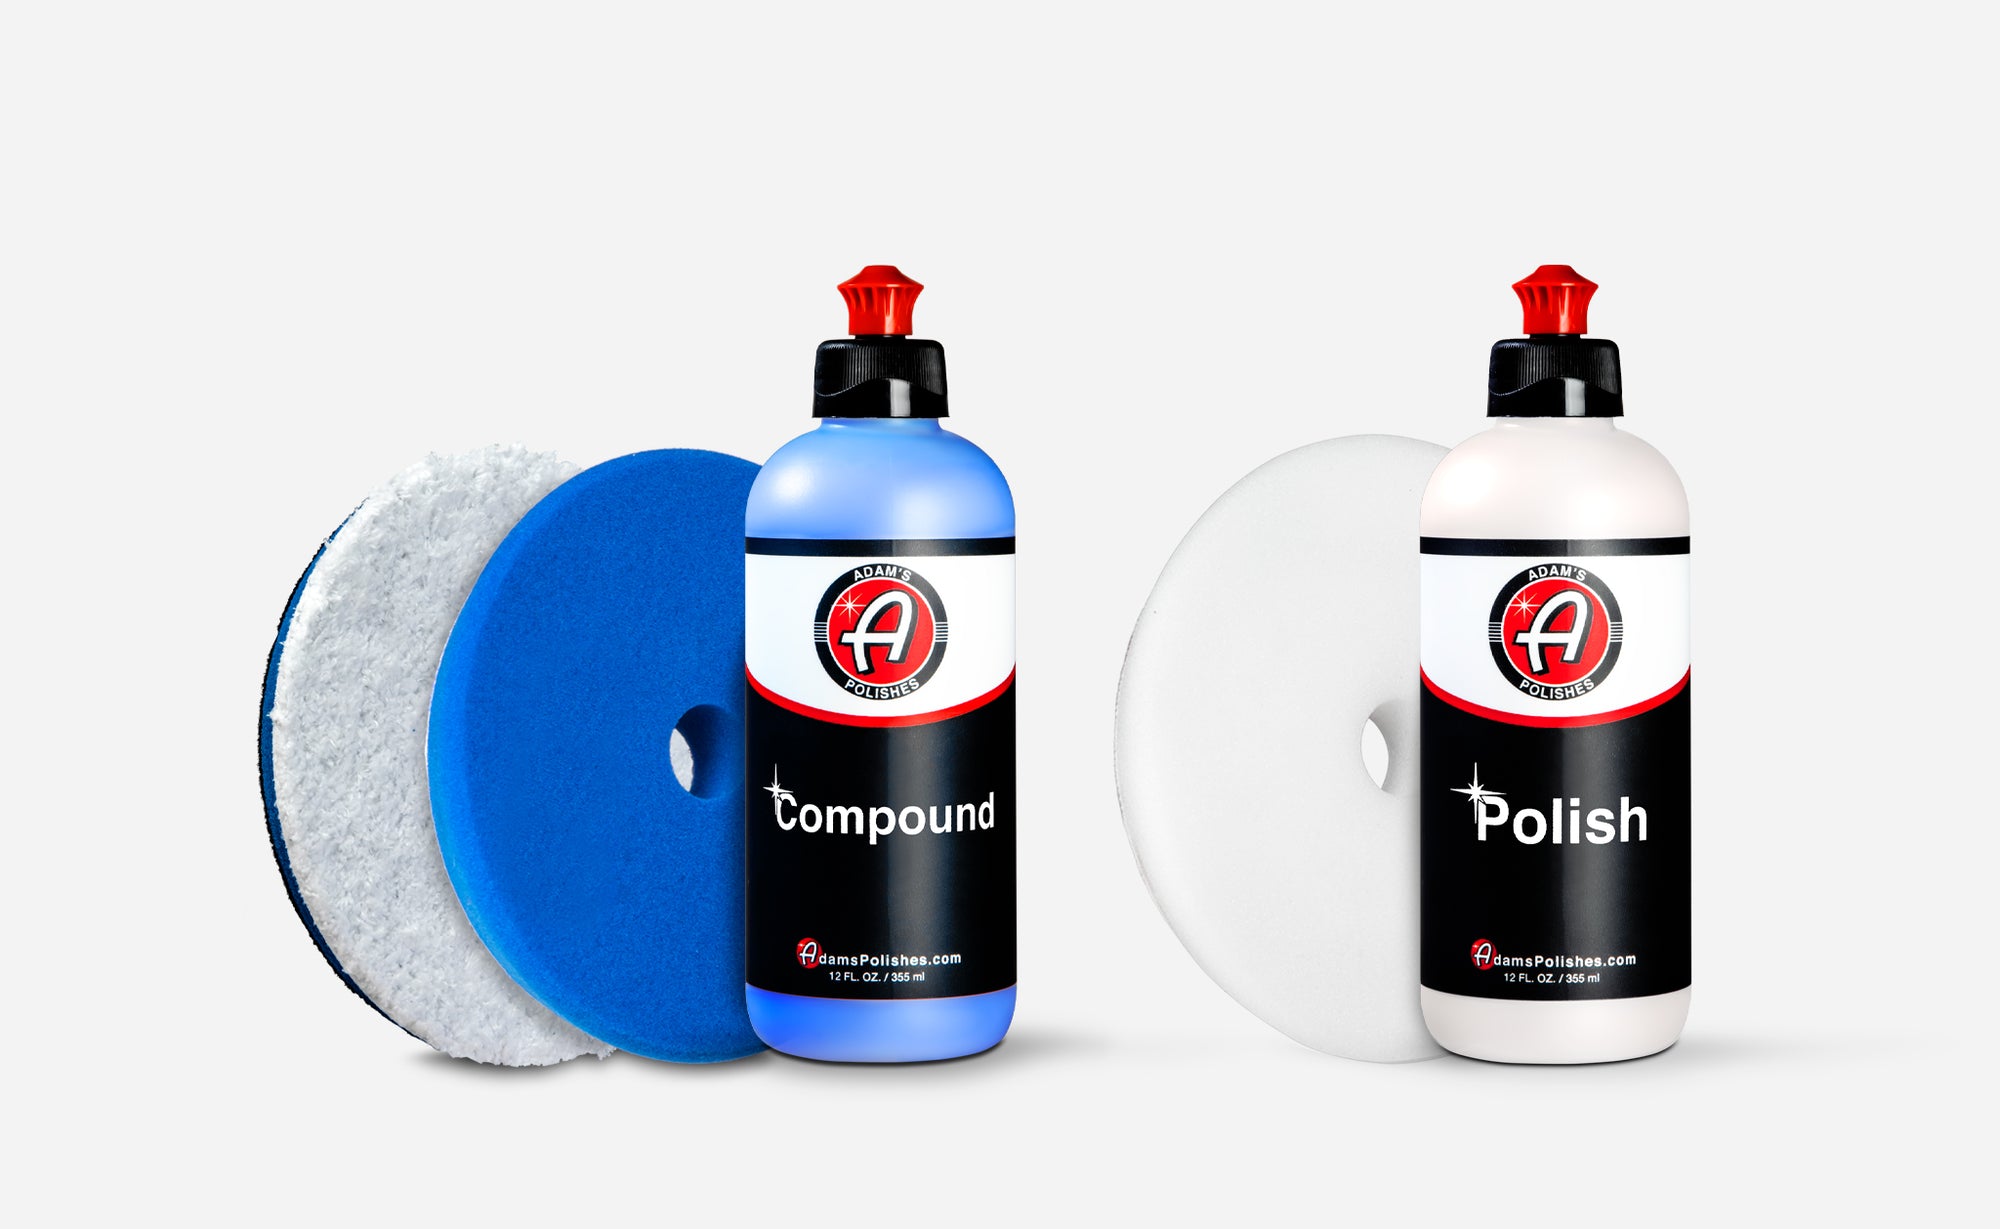
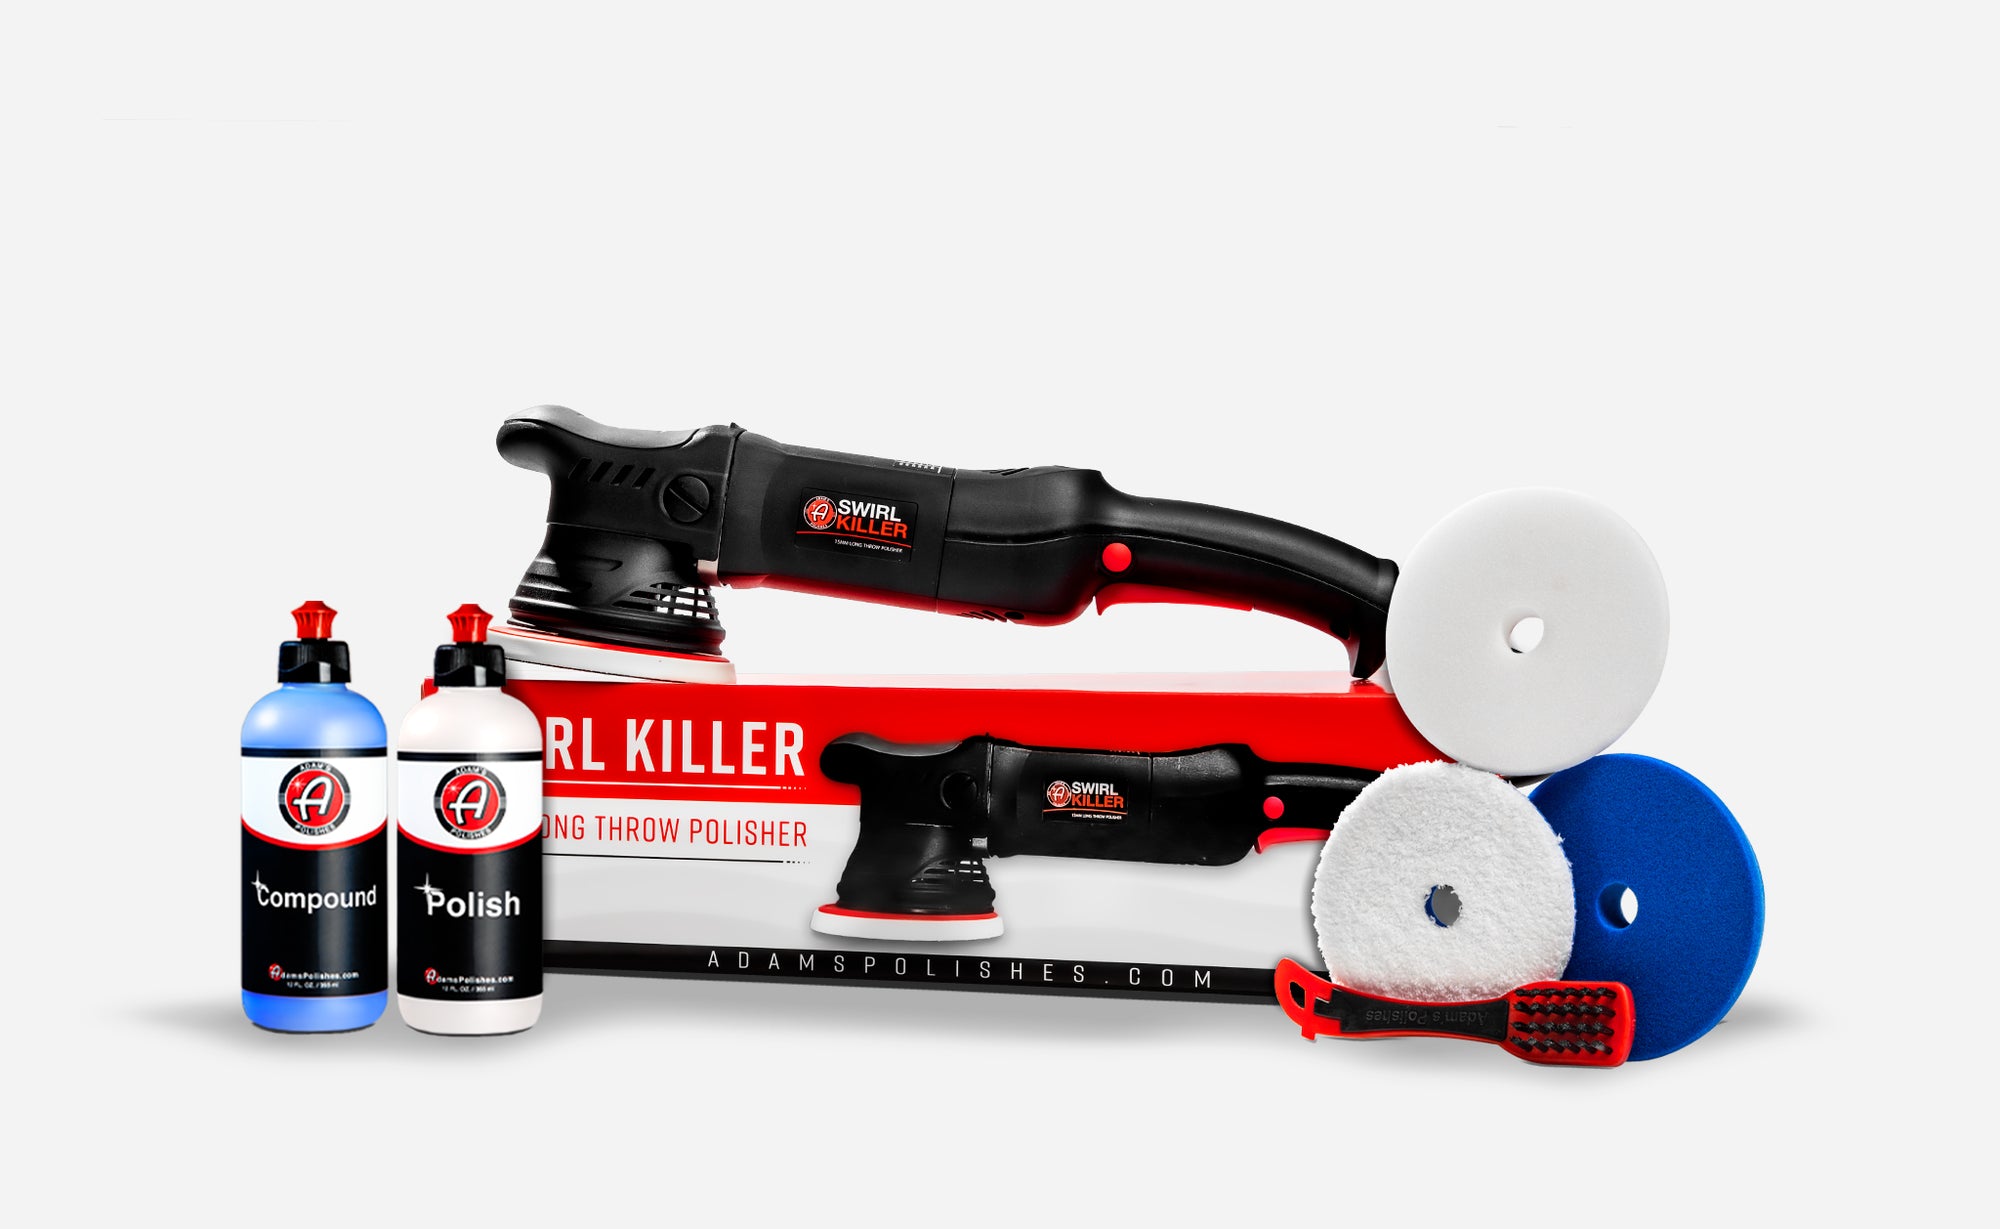
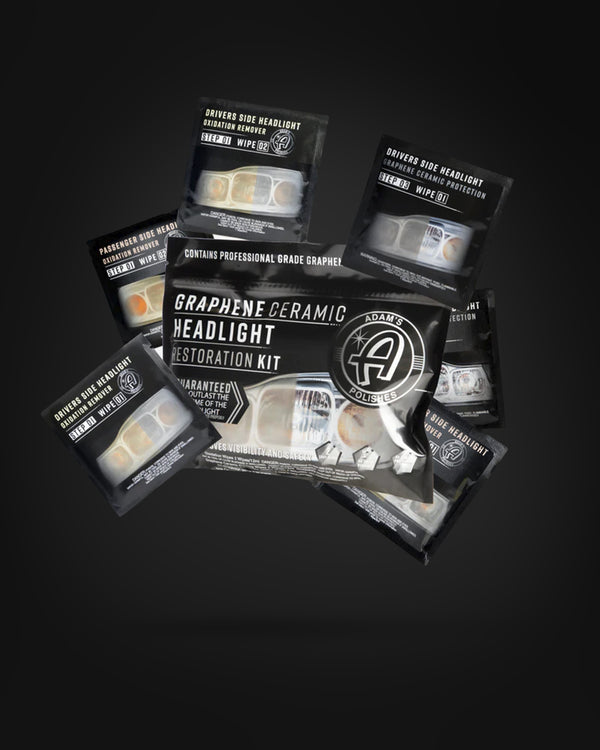
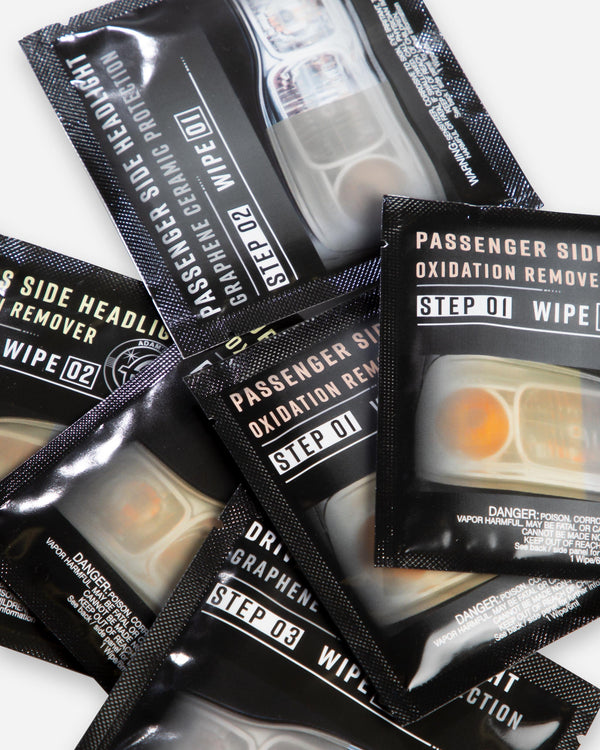
Kit Contents:
Instructions:
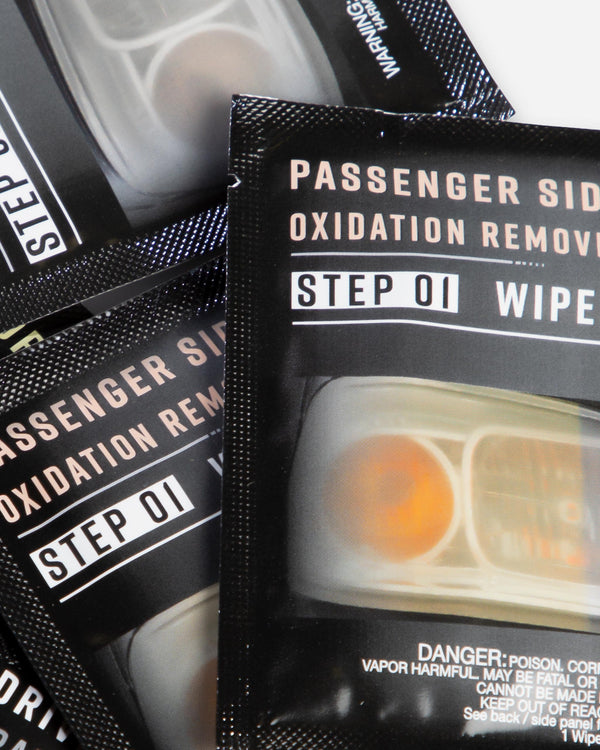
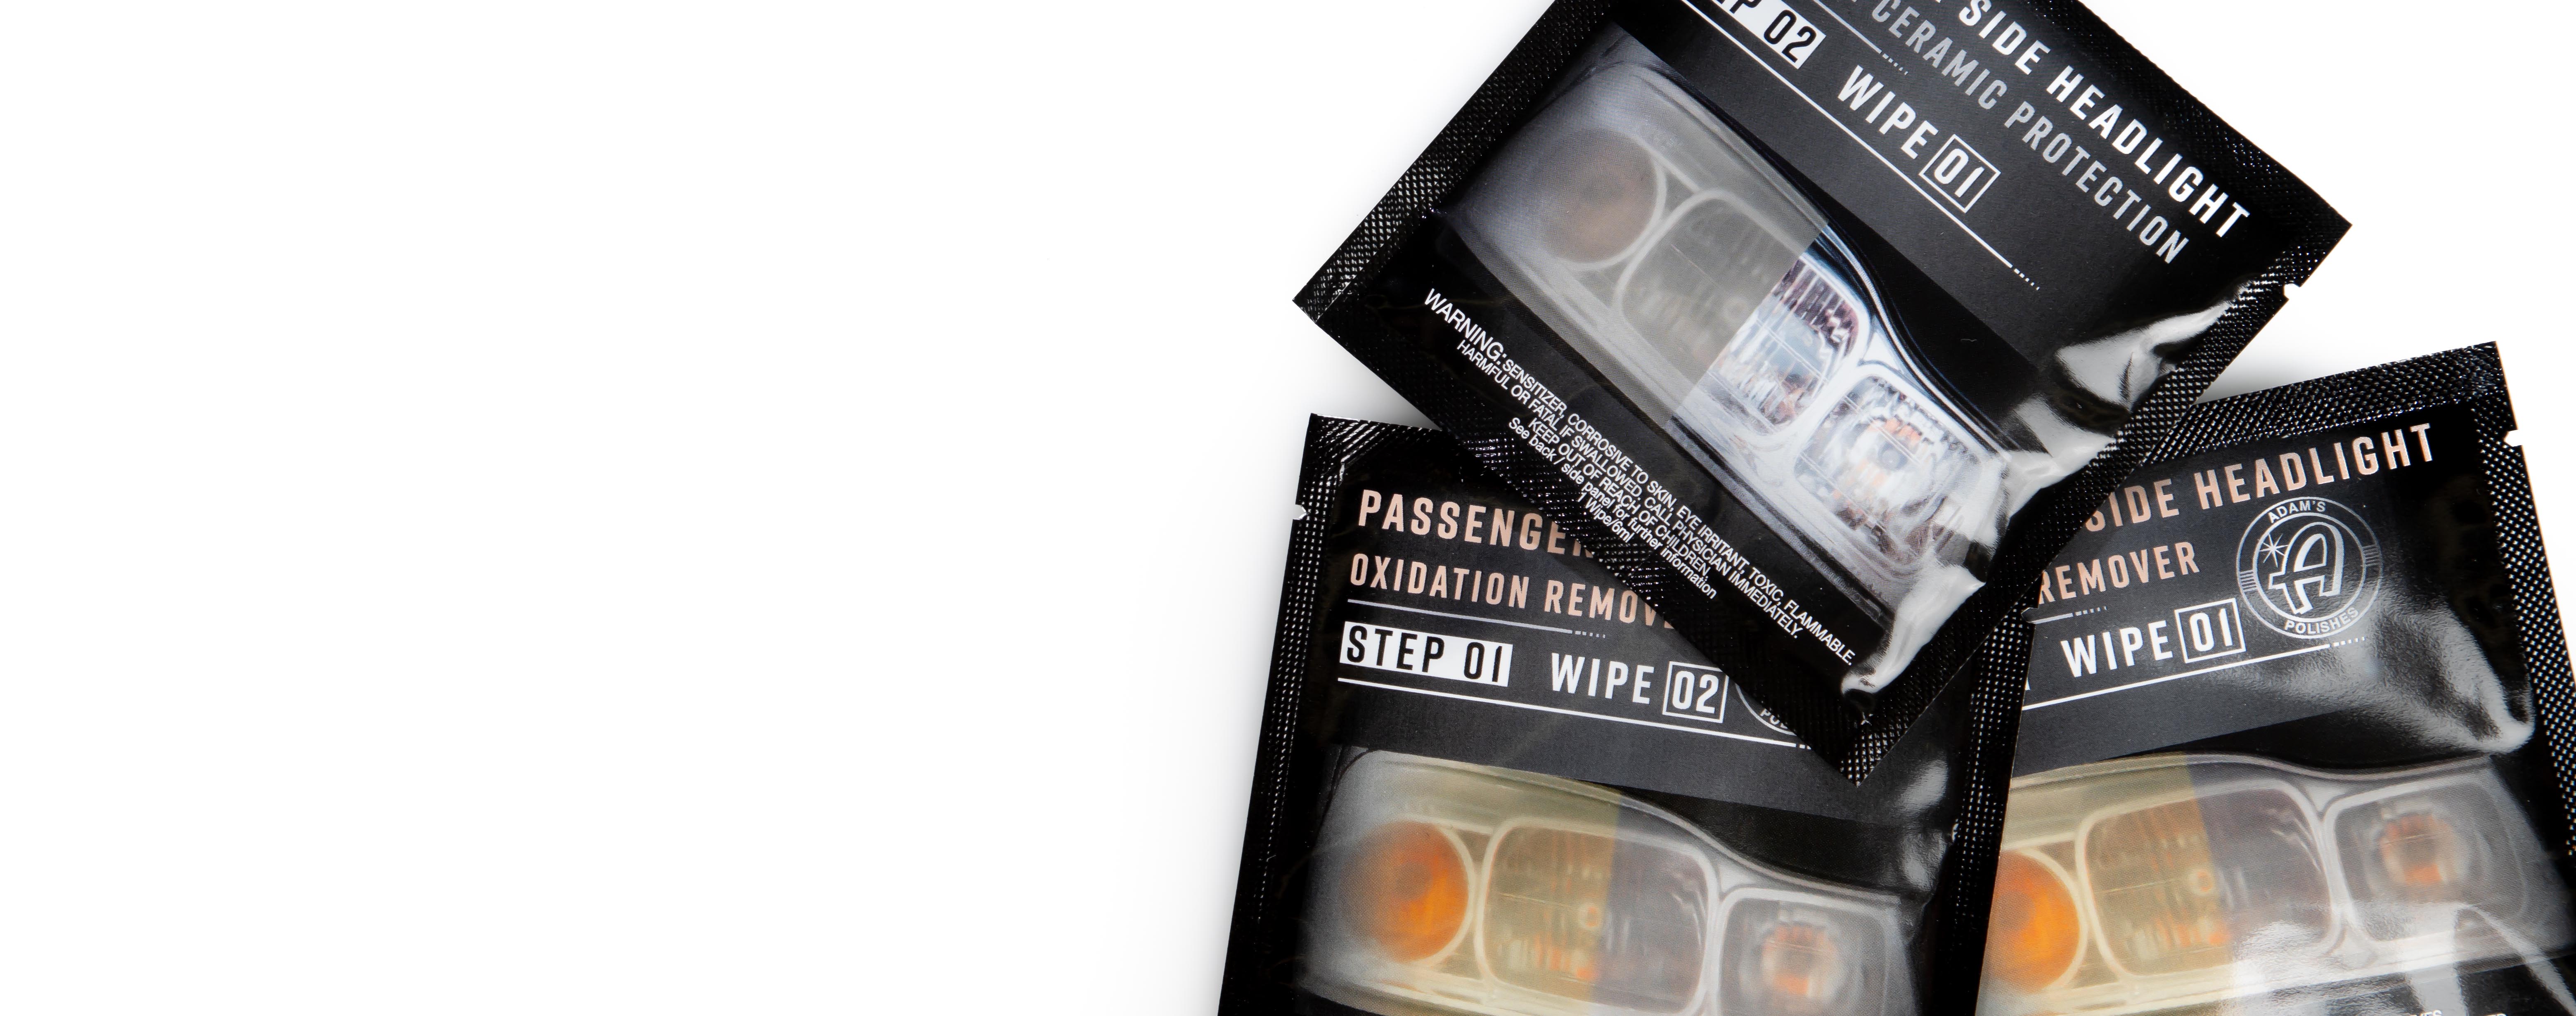
Step 1: On a headlight free and clear of physical debris and contamination, while wearing the provided nitrile gloves, tear open one ‘Headlight Oxidation Remover’ wipe and scrub one headlight, periodically unfolding to a fresh side, until the wipe is fully saturated with brown oxidative material. Ensure even coverage throughout the surface area of the headlight. Repeat with a second Oxidation Removal wipe. When finished, rinse the headlight with water and wipe clean with a microfiber towel. Ensure the headlight and surrounding area is completely dry and free of any excess water prior to proceeding to the next step.Repeat this entire process for the other headlight using the other two wipes provided. Proceed to Step 2.
Step 2: Ensure the headlight and surround area is completely dry and free of any excess water, don the second pair of nitrile gloves, then tear open one ‘Headlight Graphene Ceramic Coating’ wipe and do not unfold. With light-to-moderate pressure, wipe in a horizontal path-length, starting from the top of the headlight, from one corner to the next. Repeat another horizontal path-length swipe, with slight overlap to the previous, working down the headlight. Do not go back over previous path-lengths and do not wipe the coating off of the headlight. If any excess coating gets on the paintwork or surrounding area, simply wipe it off with a microfiber cloth. Coating will be tack free within 15-30 minutes depending on ambient conditions and cured within one hour and free to expose to the elements. Repeat this entire process for the other headlight using the other wipe provided.
Note: Wiping the coating off of the headlight will ruin the optical clarity provided and the headlight will go back to appearing fogged or hazy.
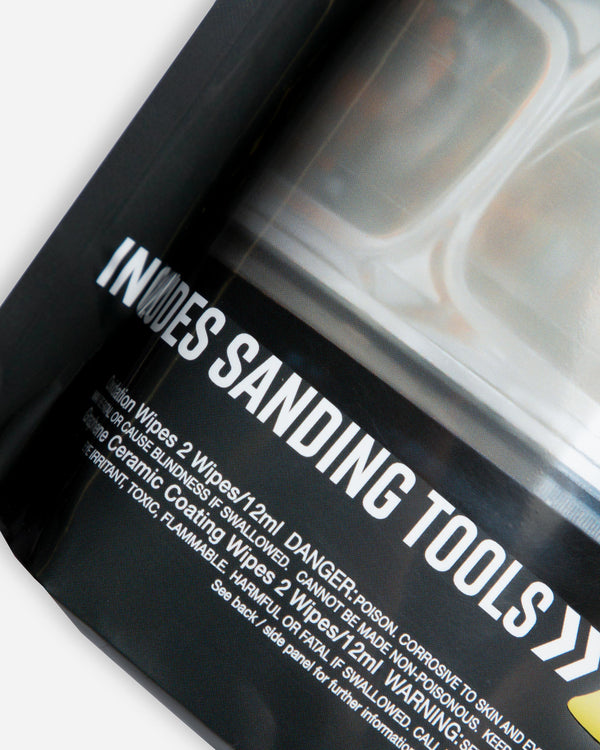
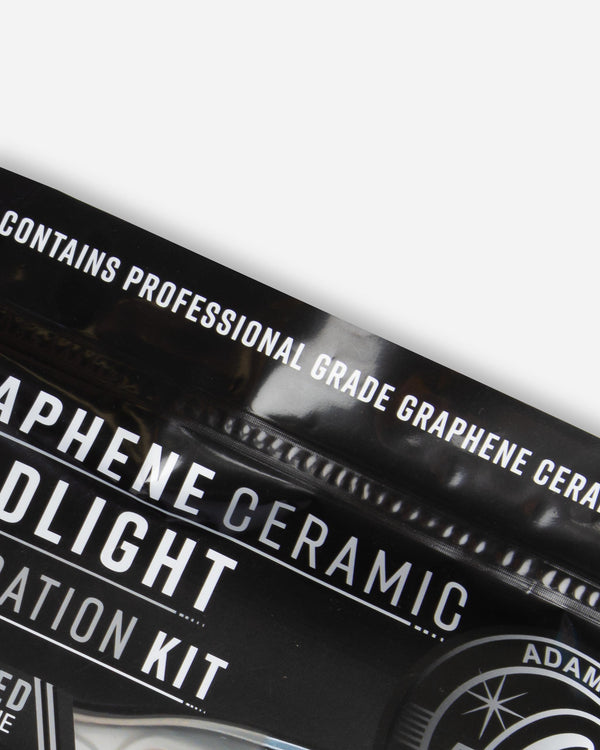
The first set of wipes in the process, the Headlight Oxidation Remover, will chemically strip the uppermost layer of the headlight that has been heavily oxidized and destroyed – this will be observed as an instant change in the color of the headlights and will visually show on the wipes as a brown residue! Next, the headlights are leveled of surface defects including scratches and pitting, along with additional oxidation removal, using the provided ergonomic Sanding Applicator along with the Sanding Discs. Finally, the second set of wipes, the Headlight Graphene Ceramic Coating, will restore clarity by covalently bonding a permanent graphene-oxide modified ceramic coating into the pores of the headlight and ensure it won’t re-oxidize shortly after the conclusion of the restoration process.
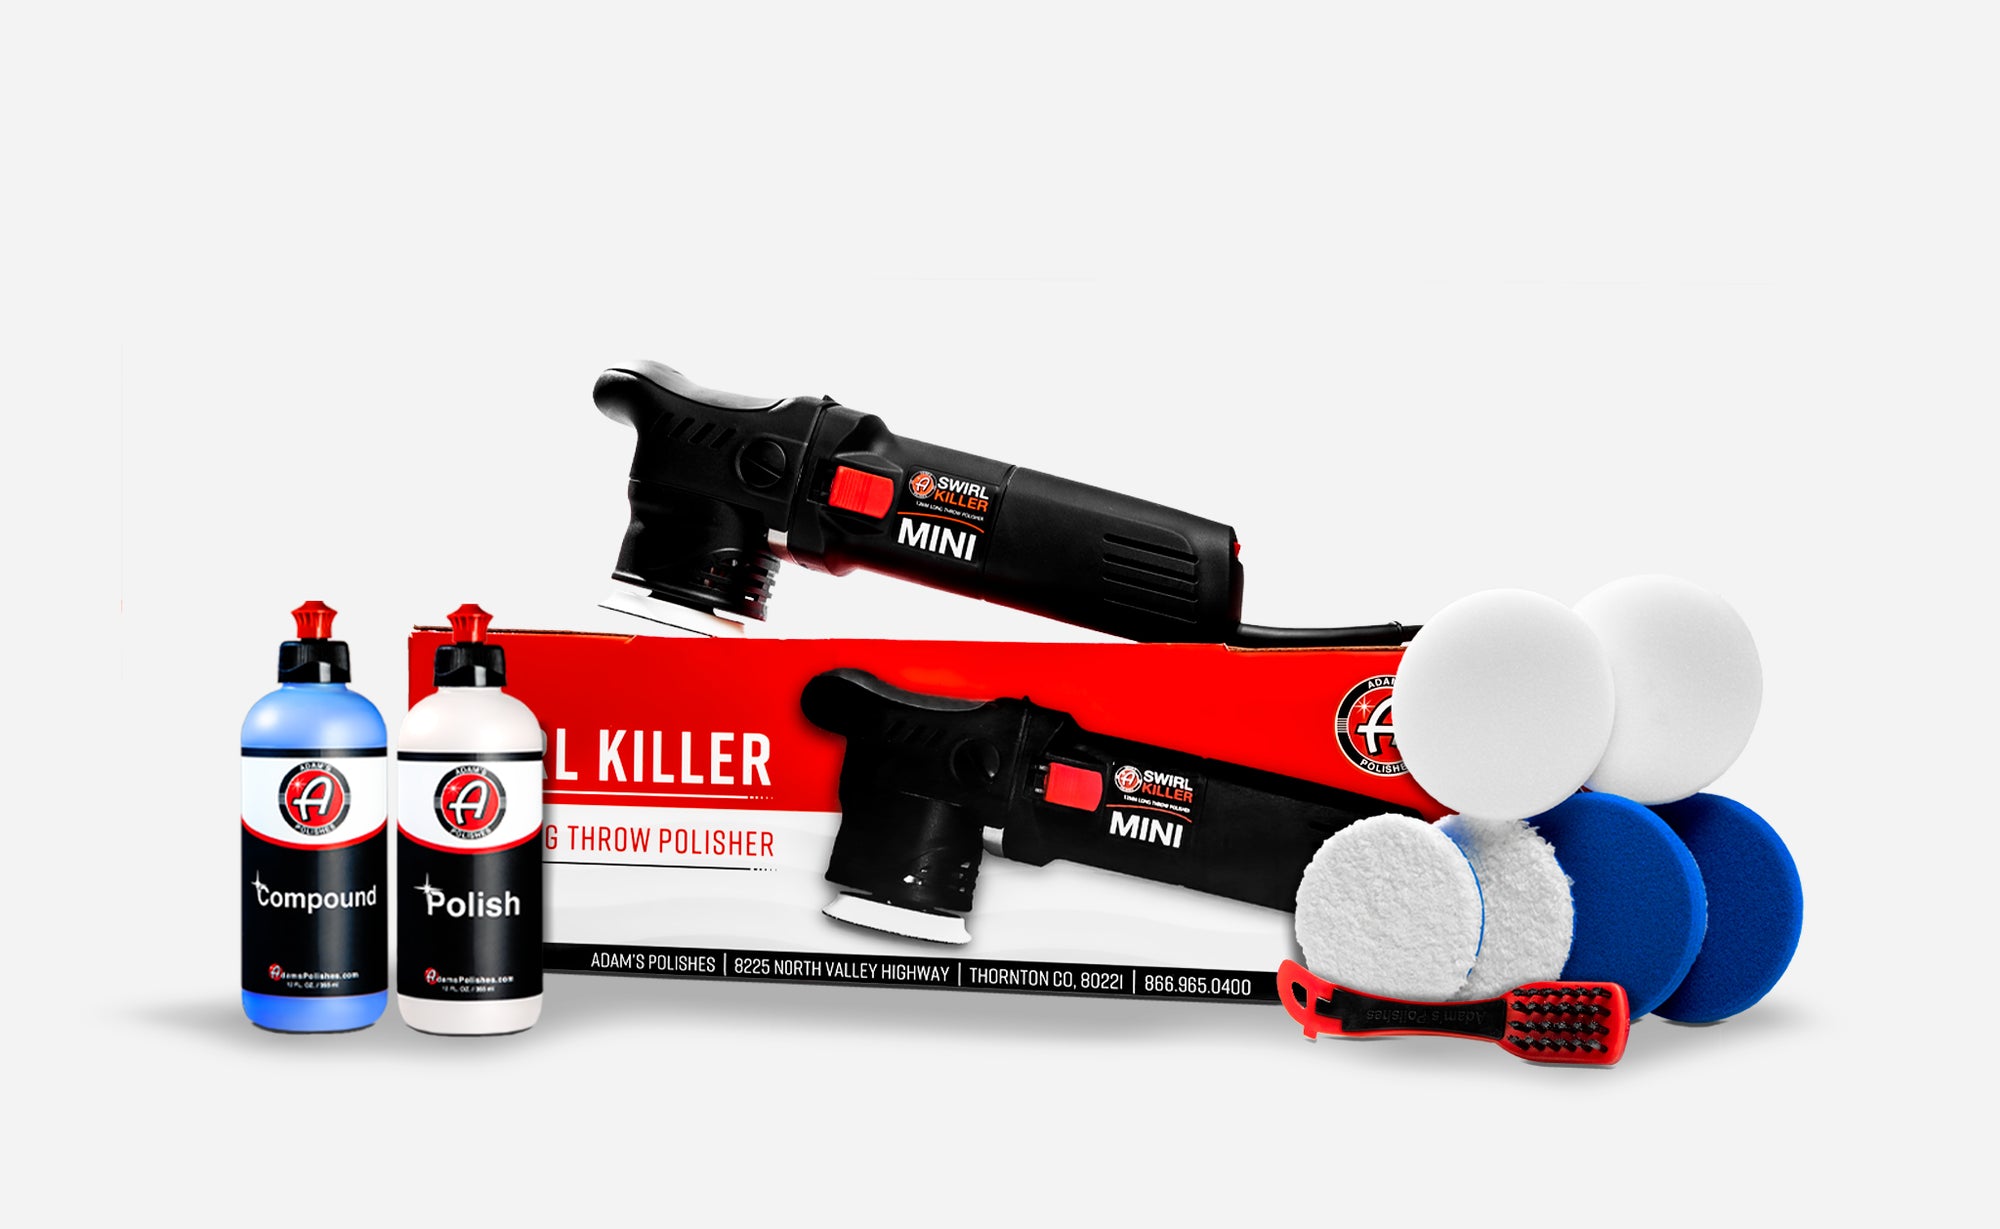
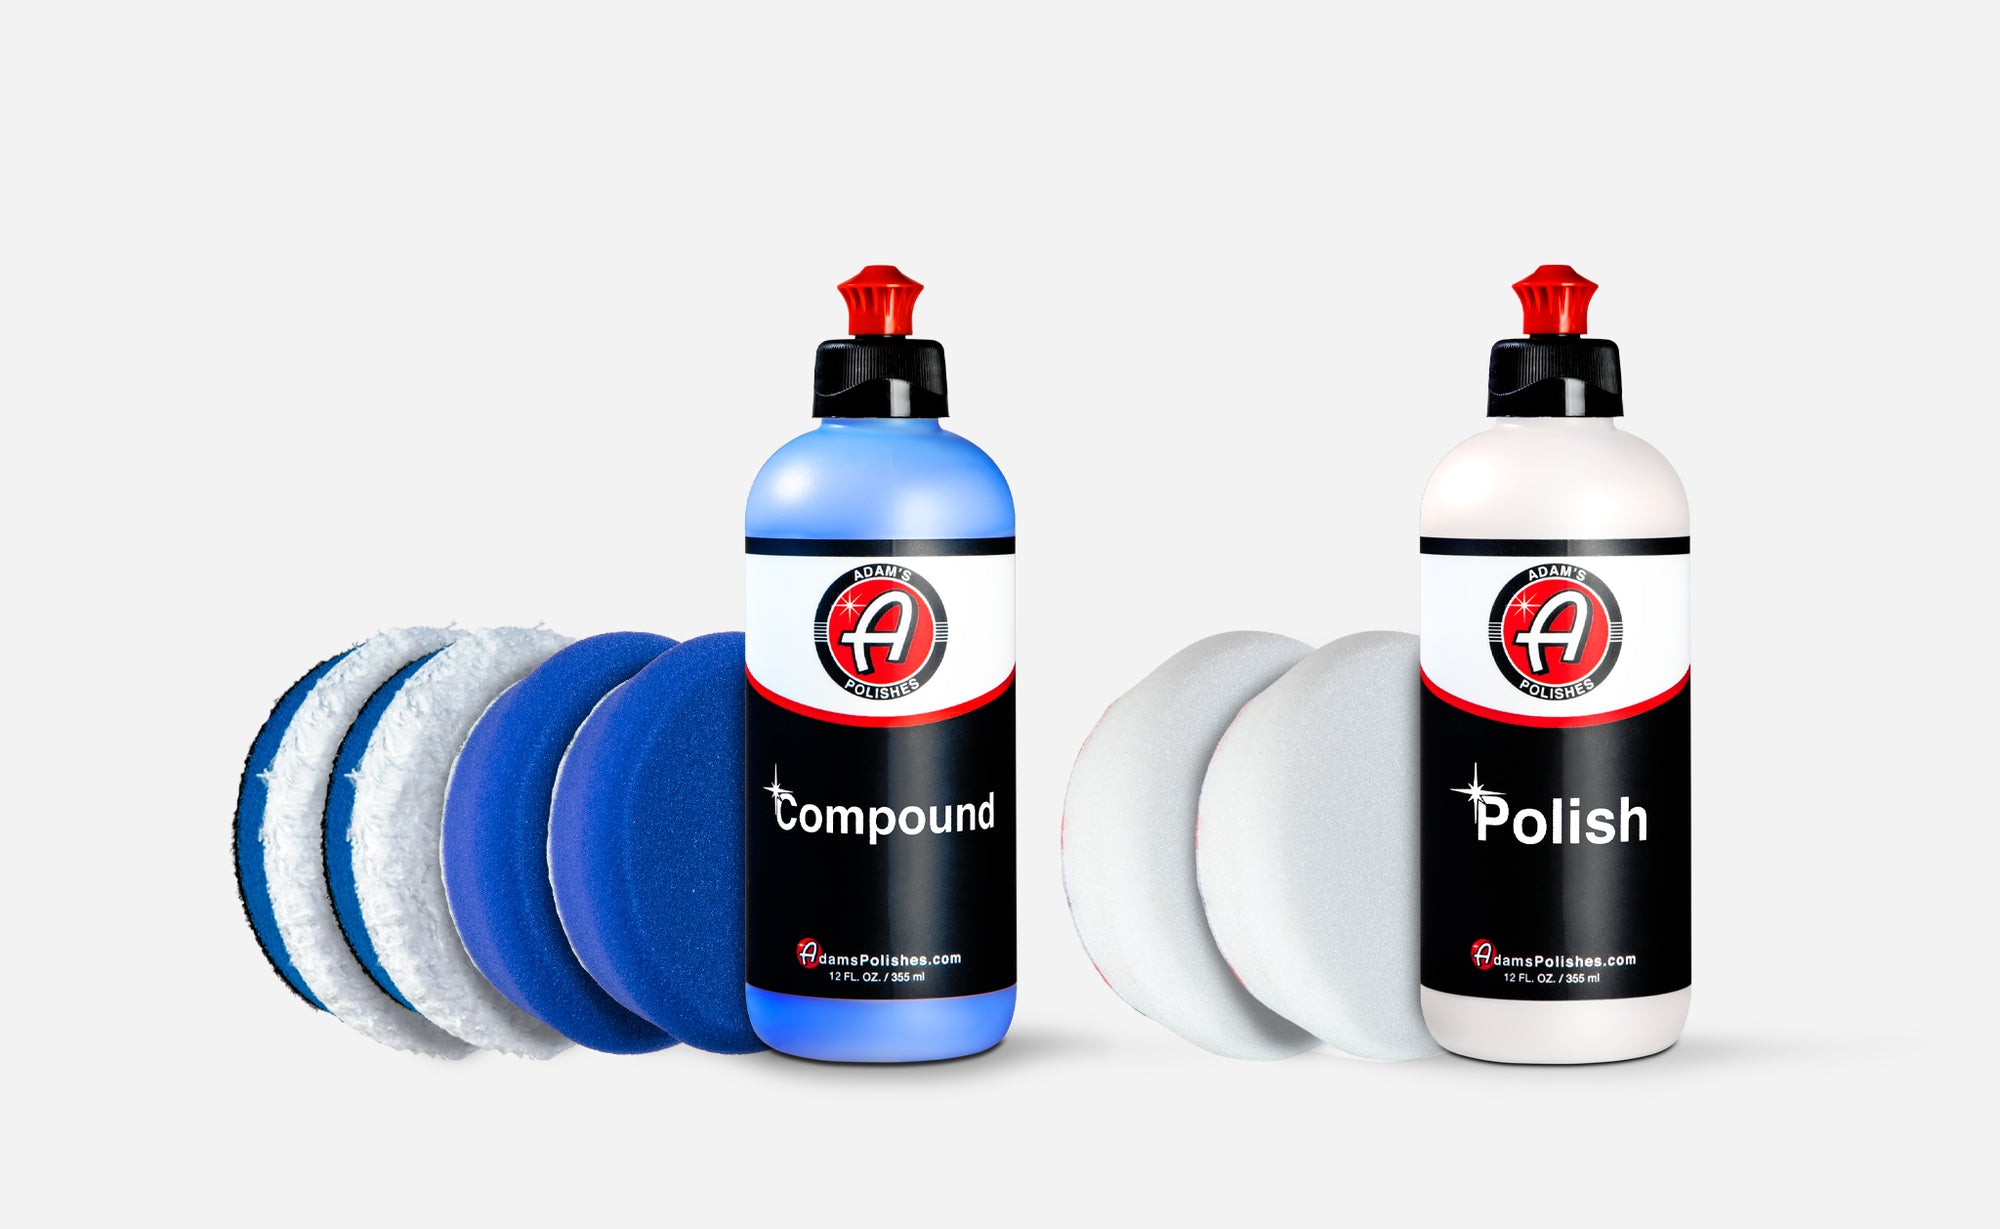
Kit Contents:
Instructions:
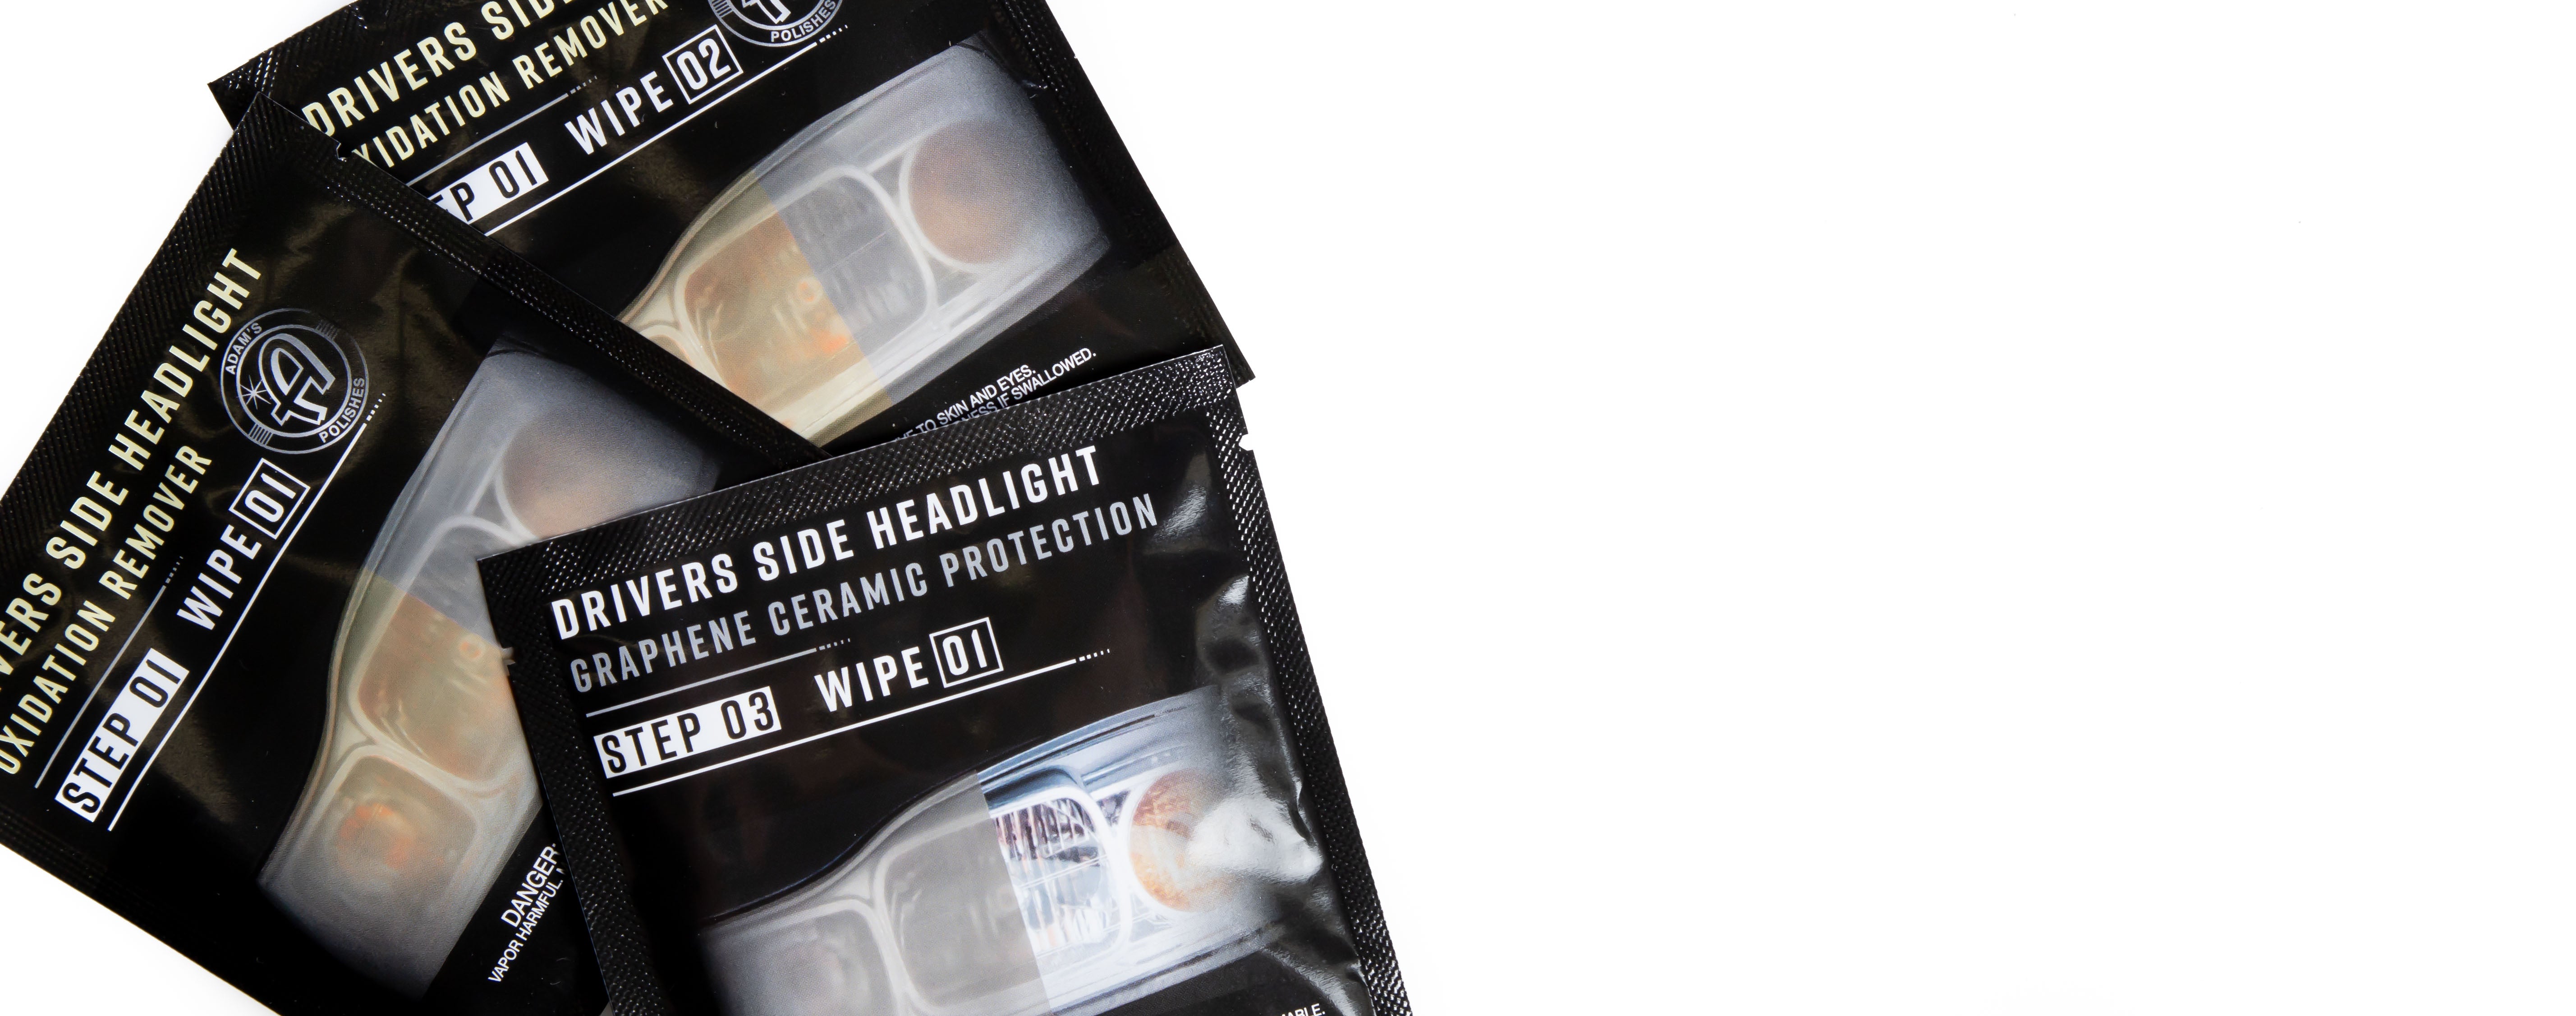
Step 1: On a headlight free and clear of physical debris and contamination, while wearing the provided nitrile gloves, tear open one ‘Headlight Oxidation Remover’ wipe and scrub one headlight, periodically unfolding to a fresh side, until the wipe is fully saturated with brown oxidative material. Ensure even coverage throughout the surface area of the headlight. Repeat with a second Oxidation Removal wipe. When finished, rinse the headlight with water and wipe clean with a microfiber towel. Repeat this entire process for the other headlight using the other two wipes provided. Proceed to Step 2.
Step 2: Fasten the 2000 grit Sanding Disc to the Sanding Applicator and wet both the headlight and the Sanding Disc with water to lubricate. Rub the entire surface area of the headlight in a uniform, non-circular motion with moderate pressure for 2-3 minutes while periodically cleaning excess oxidative material off of the Sanding Disc. Repeat this process with the 3000 grit Sanding Disc. Keep the lens wet throughout the sanding process for the most uniform sanding pattern. When finished, rinse the headlight with water and wipe clean with a microfiber towel. Ensure the headlight and surrounding area is completely dry and free of any excess water prior to proceeding to the next step.Repeat this entire process for the other headlight using the other two Sanding Discs provided. Proceed to Step 3.
Step 3: Ensure the headlight and surrounding area is completely dry and free of any excess water, don the second pair of nitrile gloves, then tear open one ‘Headlight Graphene Ceramic Coating’ wipe and do not unfold. With light-to-moderate pressure, wipe in a horizontal path-length, starting from the top of the headlight, from one corner to the next. Repeat another horizontal path-length swipe, with slight overlap to the previous, working down the headlight. Do not go back over previous path-lengths and do not wipe the coating off of the headlight. If any excess coating gets on the paintwork or surrounding area, simply wipe it off with a microfiber cloth. Coating will be tack free within 15-30 minutes depending on ambient conditions and cured within one hour and free to expose to the elements. Repeat this entire process for the other headlight using the other wipe provided.
Common Sense Warning:
Adam’s Graphene Ceramic Headlight Restoration Kit PRO is designed to restore moderate to severely oxidized headlights that are in need of surface leveling, defect removal, color and clarity correction. This kit is not capable of restoring headlight appearance if the damage is severe enough that the headlights are cracked or if the damage is observed to be on the inside of the headlight lens.
Legal Disclaimer:
THE LIMITED LIFETIME WARRANTY SET FORTH ABOVE IS THE EXCLUSIVE WARRANTY GIVEN IN CONNECTION WITH THE PRODUCT AND IS IN LIEU OF ANY AND ALL OTHER GUARANTEES OR WARRANTIES, WRITTEN OR ORAL, EXPRESS OR IMPLIED, INCLUDING BUT NOT LIMITED TO WARRANTIES OF MERCHANTABILITY AND FITNESS FOR A PARTICULAR PURPOSE, ALL OF WHICH ARE HEREBY DISCLAIMED. IN NO EVENT SHALL ADAM’S POLISHES, INC. BE LIABLE TO THE PURCHASER, THE END USER, OR ANY THIRD PARTY FOR CONSEQUENTIAL OR INCIDENTAL DAMAGES OR LOSSES RESULTING FROM THE USE OF THE PRODUCT. THIS WARRANTY GIVES THE PURCHASER SPECIFIC LEGAL RIGHTS, AND THE PURCHASER MAY HAVE OTHER RIGHTS THAT VARY FROM STATE TO STATE. SOME STATES DO NOT ALLOW THE EXCLUSION OR LIMITATION OF CONSEQUENTIAL OR INCIDENTAL DAMAGES, SO THE ABOVE LIMITATION MAY NOT APPLY TO YOU.