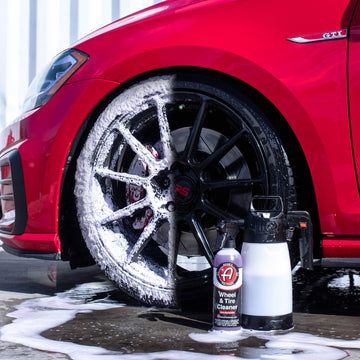

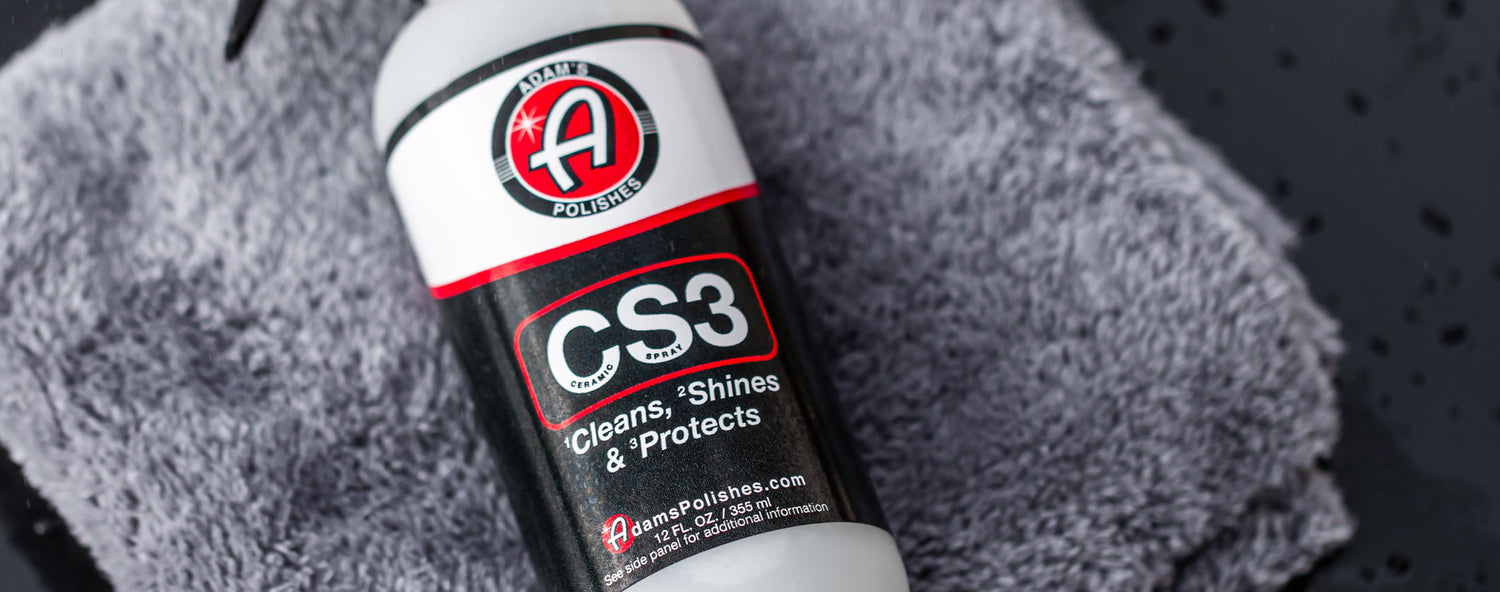

CS3 - Clean, Shine, & Protect
Adam’s CS3 is more durable than conventional waxes, meaning it is more resistant to harsh temperatures and environments. It contributes to the protection of the vehicle’s clear coat, which has special UV inhibitors and blockers to protect the paint from harmful UV rays. The hydrophobic formula produces a highly self-cleaning surface, attempting to push water and dirt from the surface. CS3 is safe and effective on nearly all exterior surfaces including paint, glass, chrome, headlight and taillight lenses, plastic trim, and rubber molding - coated and non-coated alike.
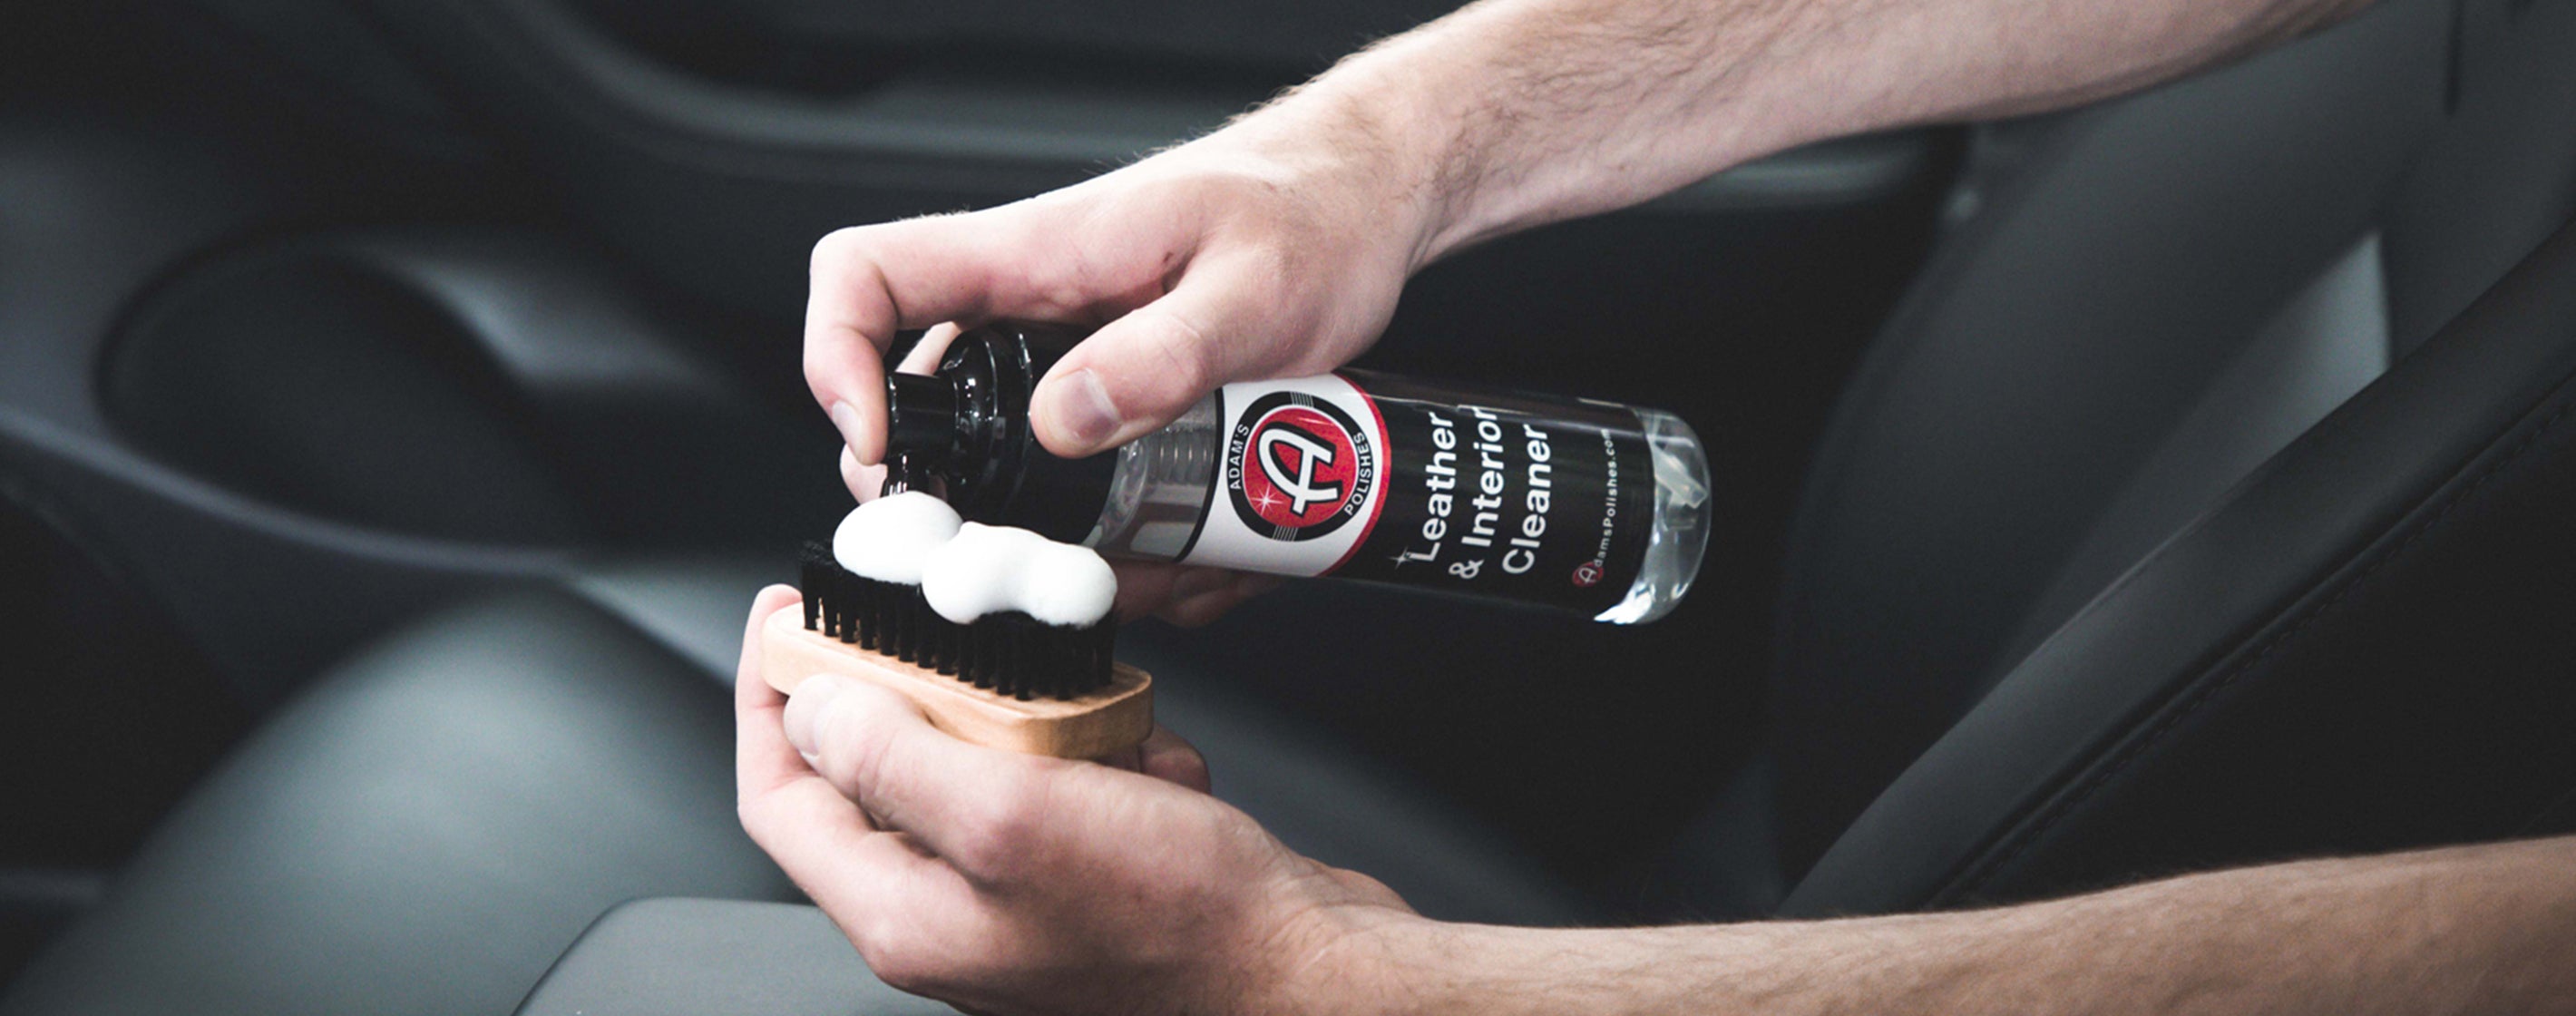
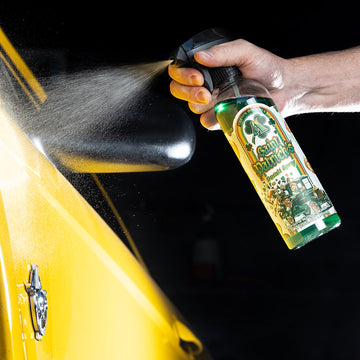
Adam’s CS3 is uniquely formulated using a proprietary blend of cleaning surfactants, lubricating polymers, chelates, natural emulsifiers, and silica film-formers - all advanced technology to provide a very safe and simple spray-on and wipe-off product, with no additional water necessary. CS3 can safely remove light to medium levels of dirt without the need of a hose, buckets, soap, wash pads, water, and drying towels. There is no real prep-work involved to use this product, you simply spray it onto the surface one panel or section at a time, wipe with one side of a microfiber towel, and then wipe away the remaining residue with another side of the towel, or a second dry towel.

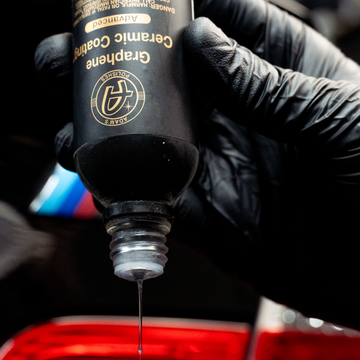
UV Ceramic Spray Coating
Adam’s Ceramic Spray Coating was introduced in January 2019, but is still one of the most revolutionary products that we offer in our product line in terms of value and performance. The formula has since been updated for improved longevity and to incorporate UV Tracer technology, which allows you to see exactly where the coating has been applied, and where it has not, by using a UV LED Light during, or immediately after application.
Our UV Ceramic Spray Coating bridges the gap between professional detailers and weekend hobbyists, providing a means for nearly anyone to apply a ceramic coating to their vehicle. Unlike CS3, UV Ceramic Spray Coating is not water-based, and is not designed to clean a surface. It has a makeup of polysiloxane and solvents, and is designed to add long-lasting shine and protection to an already clean surface. This chemical makeup is also why you should not breathe in this product, unlike the majority of our products which have very pleasant scents to them.
Ceramic coatings like Adam’s UV Ceramic Spray Coating begin to flash or “rainbow” on a surface from a chemical reaction when exposed to oxygen. After setting up in usually 2-5 minutes, the spray coating residue can then be wiped away with near-zero effort. Humidity and temperature will play factors in how long it takes for the coating to set up before it is ready to be wiped away. Once the “rainbow” oil-slick look begins to dissipate to a more clear or hazy look, this is a good indicator to thoroughly wipe away the residue. Unlike some other coatings that can be very difficult to work with after a specific time frame, UV Ceramic Spray Coating can still be easily removed after 5 minutes or sometimes even 10+ minutes after application - for example if you happen to forget removal on an area such as a side mirror, rocker panel, and so on.
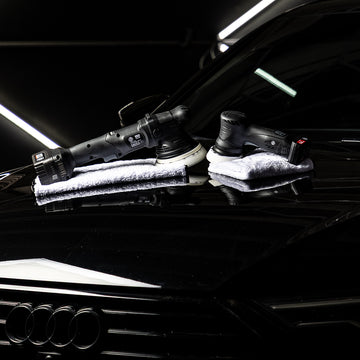
While Adam’s CS3 can provide protection in terms of a few months, Adam’s UV Ceramic Spray Coating provides a considerably longer amount of protection, typically in the 6-12 month range on a properly prepared surface! Cure time for UV Ceramic Spray Coating is approximately 6 hours before you can drive the vehicle or expose it to water or moisture, whereas with CS3 you can drive the vehicle immediately afterward. We recommend claying and then polishing the surface with a random orbital polisher, like our Swirl Killer 15MM Polisher, before applying UV Ceramic Spray Coating for the best longevity and performance. If these preparation steps are skipped, there will be increased surface tension that will not allow the coating to bond as well, meaning it will need to be applied more frequently. We will go into the full application process in detail below.

APPLICATION:
Now that we’ve done an in-depth look at what each product offers and how they perform, next we’ll explain similarities and differences in how they are applied. An application checklist is provided for each below, listing our recommendations for the towels, applicators, and other accessories that work best with each.
CS3 Application Checklist
|
Chemicals |
Accessories |
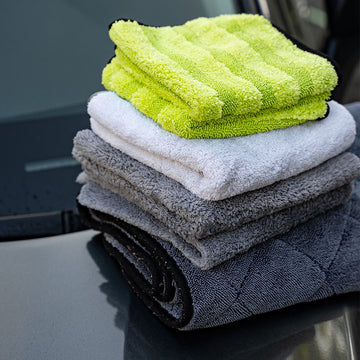
With the proper towel and the right amount of towels, cleaning your vehicle with Adam’s CS3 can be just as safe and effective as a traditional wash. The key is to use towels that safely lift dirt from the surface such as the blue Waterless Wash Towel, while frequently flipping the towel to a new clean work area. Once a towel is fully saturated with dirt, set it aside to be washed. Do not continue to wipe the surface with it, as that is how the finish will develop faint scratches and swirl marks. A typical amount of towels is 2-4 towels for dirt removal on a midsize sedan, with one final dry towel to take care of any remaining residue and streaking. Larger vehicles such as trucks and SUVs may need 4-6 towels or more. The finishing towel can be another Waterless Wash Towel, or our Single Soft Towel for even more delicate finishing. Application is as follows:
- Inspect paint for larger dirt particles or grit. Do not use Adam’s CS3 on extremely dirty finishes.
- Work out of direct sunlight for easier application. Generously spray CS3 onto the area to be cleaned. Start from the top and work downward.
- Using Adam’s waffle-weave Waterless Wash Towel, lightly wipe the towel across the surface.
- As the towel becomes dirty, rotate the towel to a fresh side and repeat, working in straight lines. Work top to bottom, leaving the lower sections last.
- Use additional towels as necessary once all clean sides have been expended or saturated.
- As a final wipe-down, use a clean dry towel (Waterless Wash Towel or Single Soft Towel) to wipe away any remaining residue in each area.

Ceramic Spray Coating Application Checklist
|
Chemicals |
Accessories |
|
Blue Foam Pad (Optional) |
|
|
Compound (Optional) |
|
|
Detail Spray or Waterless Wash (Optional) |
|
|
Polish (Optional) |
|
|
Microfiber Cutting Pad (Optional) |
|
|
Swirl Killer Polisher (Optional) |
|
|
White Foam Pad (Optional) |
Application of Adam’s UV Ceramic Spray Coating can be a very simple process, or a more in-depth process, depending on how much preparation you would like to perform, or is necessary for the vehicle’s finish. If the paint has already been corrected and does not need to be polished, a quick wash, Surface Prep, and then coat can suffice. However, if you would like the best performance and longevity, we recommend to clay and polish the paint as well prior to using Surface Prep. Application is as follows:
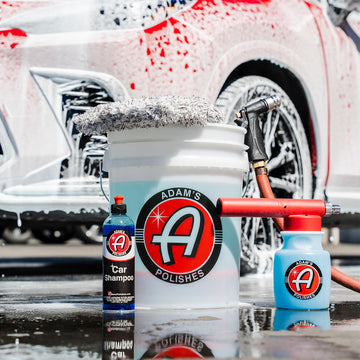
- If the vehicle is dirty, wash and dry following proper methods outlined in our videos. Use a soap that does not have protection additives. Adam’s Car Shampoo is recommended.
- (Optional) Clay vehicle to remove bonded contamination by using Adam’s Visco Clay Bar, Fine Grade Clay, or Clay Mitt, with Detail Spray as a lubricant for the clay.
- (Optional) Machine polish painted areas to remove swirl marks and light scratches using Adam’s Compound, Polish, and appropriate color-coded pads with the Swirl Killer Polisher. Please watch our paint correction video series for proper techniques for machine polishing.
- (Optional) Remove all traces of polishing oils by wiping the exterior surfaces with Surface Prep and a Borderless Gray Towel. This ensures the surface is bare and ready for UV Ceramic Spray Coating to be applied.
- Working indoors is strongly recommended. Wearing gloves is recommended.
- Mist a few sprays of UV Ceramic Spray Coating directly into a Microfiber Applicator Block. Apply the coating to the vehicle surface using even, light pressure. Ensure that all of the surface is covered. Work on 1-2 body panels at a time.
- The coating will begin to flash as quickly as 30 seconds after application. Allow the coating to “set up” usually for 1-3 minutes before removal. Once the coating begins to look more hazy or clear instead of a rainbow appearance is a good indicator for removal.
- Using an Adam’s Borderless Gray Towel, lightly wipe the towel across the coating residue to level the coating. Flip the towel over and then thoroughly wipe away the remaining residue.
- Use a second towel to do a final wipe of the panel. As you coat more sections of the vehicle, your first towel may begin to smear the coating more, rather than wipe it away. This is why it is important to have a second clean towel to fully wipe away the coating and reduce the chance of high-spots and streaking.

PROTECTION:
Adam’s UV Ceramic Spray Coating is going to be the winner in terms of overall protection and length of durability per application in this comparison, but both UV Ceramic Spray Coating and CS3 can be used on the same amount of surfaces and provide the same water-repellent hydrophobic behavior that is so amazing with ceramic-based products. Neither product will be scratch-resistant or prevent rock chips, but what they do offer is a much easier way to clean vehicles in follow-up washes, give incredible levels of gloss and shine, and provide an easy way for anyone to get their feet wet with ceramic-based products if they were hesitant in the past.
MAINTENANCE:
After either CS3 or UV Ceramic Spray Coating have been applied to the vehicle surface, maintenance is fairly straight-forward after that. With CS3, you can use it as a drying aid when you perform a full Two Bucket Wash routine by lightly misting onto panels as you dry with the Ultra Plush Drying Towel (making sure to use it out of direct sunlight in this instance), or you can use it with no additional water and several Waterless Wash Waffle Weave Microfiber Towels to clean vehicles with light to moderate dirt buildup. CS3 can also serve as a topper on a ceramic coated vehicle, much like how Ceramic Boost is used.
Maintenance on UV Ceramic Spray Coating is easy too - wash as you normally would with one of our shampoos, and then you can re-up a little more protection with CS3. Once you are ready to apply a new layer of UV Ceramic Spray Coating, we would recommend to wash, dry, and then use Surface Prep with a clean Borderless Gray Towel on all areas to be treated before reapplying the coating. If the surface is showing signs of light scratching and swirl marks, now is also the time where you would decide if you want to polish the area out again before coating - in this case, our white Polish and White Foam Pad might be enough to polish it back to near-perfect, before protecting the finish again.
WHICH IS RIGHT FOR YOU?
Now that we’ve covered the similarities and differences between CS3 and UV Ceramic Spray Coating, you may still have trouble deciding which is right for you. If you are looking for quick and easy protection that you will need to apply more frequently, CS3 is the way to go, but if you are looking for more long-term durability, applying only once or twice a year, UV Ceramic Spray Coating would be the better fit. With respect to cost per use, CS3 is going to be more affordable than UV Ceramic Spray Coating, but you will be using CS3 more frequently, so cost expense works out to be about the same. We provide a full break-down of several comparison factors in the chart below.
Comparison Chart: Adam’s Ceramic Products
Scale (0-5 Rating): 0 = Low, 5 = High
|
Clean |
4 |
0 |
0 |
0 |
|
Shine |
4 |
4 |
4 |
5 |
|
Protect |
3 |
4 |
2 |
5 |
|
Application Effort |
1 |
3 |
4 |
5 |
|
Prep Work |
0 |
3 |
2 |
5 |
|
Cure Time |
0 |
3 |
0 |
5 |
|
Cost Per Use |
1 |
2 |
1 |
5 |
In the comparison chart, it’s clear that CS3 is a strong contender in every category. It has no Prep Work or Cure Time needed, Application Effort is very low (easy) compared to Ceramic Boost or our UV Ceramic Paint Coating Kit, its Cleaning and Shine capabilities are high (strong), and lastly the Protection level is Good, above some of our waxes and sealants. Adam’s UV Ceramic Spray Coating is nearly as easy to apply but needs more prep work, cure time, and has no cleaning ability. Shine is about equal to CS3, but UV Ceramic Spray Coating will be the more durable of the two, coming in second behind the much more involved UV Ceramic Paint Coating Kit. CS3 and UV Ceramic Spray Coating are perfect companion products - pick up UV Ceramic Spray Coating for the initial protection, and then maintain it with CS3!

SUMMARY:
In this blog, we explained the purpose of two easy-to-use ceramic offerings in our product line - Adam’s CS3 and Adam’s UV Ceramic Spray Coating - and how they are used to clean, shine, protect, and maintain the exterior surfaces of your vehicle. If you are uncertain about any product or process, or have any questions in general, feel free to contact us at tips@adamspolishes.com, or reach us on our online communities on Adamsforums.com and facebook as well!